CABINET DESIGN TRENDS FOR 2019
August 28, 2018BENEFITS OF ADDING A STORM DOOR
October 18, 20189 SIMPLE STEPS TO PREPARE YOUR SWIMMING POOL FOR WINTER
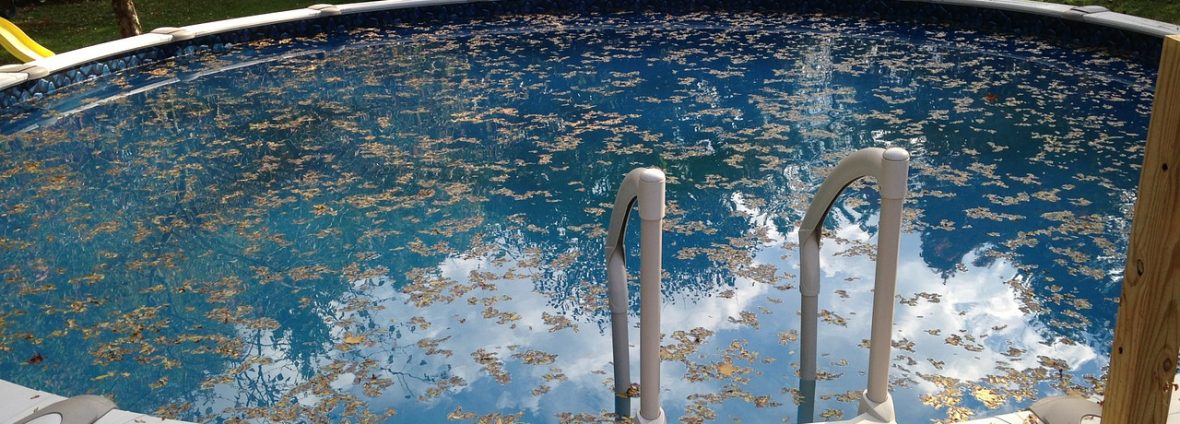
Maintenance is required to make sure your pool is ready for swimming all summer long, but what happens when it is time to close your pool for the winter? In this quick guide, GR Mitchell outlines 9 easy steps to prepare your swimming pool for the offseason.
Step 1: Clean your pool
To ensure the pool’s environment is ideal, clean the surface with a skimmer, brush the liners with a curved wall pool brush, empty the skimmer baskets, and vacuum all surfaces. This step should be performed a few days prior to closing the swimming pool.
Step 2: Run the filter
After the pool is cleared of all large debris and leftover residue, the filters should be turned on. Using a filter aid during this step is recommended; the filter aid cleans out the particles clouding the water and produces a crystal-clear result.
Step 3: Shock the water
To keep your swimming pool sanitized all winter long, you need to use a shock treatment. If you are using a chlorine tablet, then a tablet floater is recommended. Be sure to do this 24 hours prior to closing; this guarantees enough time for the chemicals to dissolve and the water to be tested. Shocking your pool is important because it kills leftover bacteria and prevents algae buildup.
Step 4: Test levels
After a shock treatment, it is crucial to test the water. Balancing the pH and alkalinity levels in your swimming pool is a necessary step to achieving a safe and sanitary environment. Test strips are necessary to gain an exact reading of the pH and alkalinity. A healthy pH level is between 7.2 and 7.8, and the alkalinity between 100 and 150 ppm (parts per million). When closing your pool, it is recommended to keep these levels on the higher side.
Alkalinity stabilizes the pH of the water. If the alkalinity is low, the pH can alternate between high and low levels. If alkalinity is above the advised range, then the pH tends to be higher than normal. Knowing how the alkalinity influences the pH is important because an unstable environment can cause damage to your pool. For example, a low pH level can be corrosive and likely harm pool liners, pipes, metals, and pumps. A high pH level affects the chlorine’s ability to work efficiently, promoting an unsanitary and algae-prone environment. You can use a pH decreaser if you find that the pH is elevated or a pH increaser if the levels are too low.
Be sure to double-check the dose of chemicals for your pool size as this is essential when working with above-ground and in-ground pools alike.
Step 5: Rejuvenate the filters
Once the water is clear and the levels are stable, the filters should be cleaned by backwashing the pool or manually flushing the cartridges. Backwashing the pool reverses the water through the filter and washes any debris or dirt left directly to the waste line.
Step 6: Reduce the water
Make sure to reduce the water level to 3-6 inches below any skimmer or tile. When the pool freezes, it could potentially damage them. For above-ground pools, this would be a good time to add an inflatable pillow to your pool and remove all other equipment.
Step 7: Clear the plumbing lines
The plumbing lines must be cleared before you close your pool. If water remains in the lines, it can freeze, expand, and potentially crack the pipes, leaving you with an added expense. We suggest hiring a professional to assist you with this step.
Step 8: Seal it up
This last step is simple. Make sure all of the accessories are removed from the pool, including the top piece of the diving board, and store them away for winter. Secure the tarp over the pool, and try to prevent it from resting on the water.
Step 9: Relax
You are done! Now that you have finished these steps, your pool should be in great condition when you open it next summer! But for now, unwind and enjoy the offseason!
If you have any questions when it comes to closing your pool, feel free to give us a call at 717-464-2999 or stop by our store in Willow Street, PA.
Deprecated: preg_match_all(): Passing null to parameter #2 ($subject) of type string is deprecated in /home1/grmitche/public_html/wp-includes/media.php on line 1828
Deprecated: preg_split(): Passing null to parameter #2 ($subject) of type string is deprecated in /home1/grmitche/public_html/wp-includes/formatting.php on line 3506